Labels

Sunday, May 31, 2015

AUSTRALIA: Pavlovas


Currently I'm pulling information together to possibly study abroad in the Fall of 2016, and I couldn't be more excited! So, why am I telling you this? Well, the program I'm looking into would be a semester in New South Wales, Australia! Naturally this would make me want to bake something from the land down under, which brings me to what today's post actually is about: pavlovas.

For those of you who have never experienced this fluffy, sweet, miraculous Australian dessert, a pavlova is actually a fairly simple treat to make. It consists of a fluffy meringue that is topped with some sort of fruit or syrup or whipped cream goodness. Drooling yet? I am. 

Ingredients:
6 egg whites
pinch of salt
1 tsp distilled white vinegar
1 1/2 cups sugar (castor/superfine sugar are preferred, but granulated works just as well)
1 tbsp cornstarch
Fruit for topping
Whipped cream, if desired

Instructions:
  1. Preheat the oven to 225*F 
  2. Beat six egg whites in a stand mixer on medium speed until they become frothy and white.        
  3. Add a pinch of salt and the vinegar to the egg whites and continue beating until very soft peaks form.
  4. Add the sugar slowly, incorporating it into the egg whites as you go. Continue beating the mixture on medium-high speed until harder peaks form.                                                                
  5. Add the cornstarch and beat the mixture on high speed until the meringue is stiff. If you're brave, you can test this by flipping your bowl of meringue over and holding it above your head... up to you. :)                                                      
  6. Transfer the meringue onto a lined or sprayed cookie sheet, making 6 fluffy piles. These need to be fairly tall. Make sure you press the peaks of the pavlovas down so they do not burn. 
  7. Bake pavlovas for 1 hr. 
  8. Turn off the oven and crack the door open, but do not remove the pavlovas from the oven until they have cooled to room temperature.                        
  9. Remove from oven. Top with fruit and whipped cream. NOTE: I heated blackberries, strawberries, and lemon juice and a couple tablespoons of sugar in a saucepan to make them syrupy and almost like pie filling. Additionally, you could choose to make home-made whipped cream or the chantilly cream from the cream puff recipe I posted earlier, but today I was lazy and just used Reddi-whip.                             
  10. Enjoy! 

NOTES/TIPS:
I mentioned at the start of this blog that I promise to always be honest about how these recipes turn out. So, here's the deal: These are DELICIOUS. These are MESSY. 

Actually making the meringue is simple, so it seems to be incredibly easy. However, actually serving these guys can be difficult. Pavlovas are baked meringues, and they are large. So they crack. They stick to the serving utensil. They get everywhere.
 

If you can get past that, though, and manage to get some part of meringue onto a plate with whipped cream and fruit, they are ooey gooey delicious.


Monday, May 25, 2015

FRANCE...again: Cream Puffs


It seems I haven't posted for quite some time now. Unfortunately, with the life of a college student, baking can be hard to come by at times. But the semester is over, and I sprained my ankle badly, which means plenty of baking time!

I'm returning to my roots today by travelling back to France, my first love. There is something about French pastries that I find completely enticing. The recipes seem complex, and they are so easy to mess up. Who doesn't love a good challenge?

So, here we are, discovering cream puffs. These bite sized pastries are light, fluffy, and filled with delicious sweet cream. Yum! Now, despite seeming extremely complicated, I found this guys to be quite easy to make, so have no fear!

The key here is mastering the pate a choux, the magical batter-dough combination that is the "puff" part of the cream puff. Here's the great thing about it, though: once you make it successfully, you can make it a hundred times. (And you'll never forget it--there's a 1:1:1:1:1 ratio for the ingredients!)

Pate a Choux:

Ingredients:


  • 1 stick butter
  • 1 cup water
  • 1 cup flour
  • 1 cup (4) eggs
  • 1 pinch salt
  • OPTIONAL: splash of vanilla
Instructions:
  1. Measure out 1 cup of water and pour into a saucepan.
  2. Add 1 stick of butter and a pinch of salt to the saucepan and bring to boil. (I cut the butter into small chunks to help it become smooth more quickly.) 
  3. Once it has come to a boil, remove from heat and add 1 cup of flour to the mixture.
  4. Stir constantly until the batter becomes smooth and a ball forms. 
  5. Transfer to a stand mixer. Add the eggs, one at a time, and continue beating on medium speed, until smooth. Add the vanilla, if desired.                                                   
  6. Pour the mixture into a piping bag if you're fancy. (For the rest of us, a gallon-sized plastic bag will do. Just cut a small hole in the corner of it. NOTE: Remember to cut the hole to be very small. You can make the hole bigger, but you can't make it smaller.)
  7. Pipe little mounds of pate a choux out onto a cookie sheet lined with parchment paper or sprayed with cooking spray, and lightly press the peaks down so they do not burn.
  8. Bake! I had heard that allowing the puffs to heat constantly through the initial part of baking helped them form better, so I tried it out. So, I started out with the preheated 425* and immediately after placing the puffs in the oven, I increased the heat to 450* for the first 10 min. Then, I dropped the temperature to 350* for the final 15 min to avoid burning. (I copied Baker Bettie's method here.)                                        
  9. Remove the puffs from the oven and place the pan on a cooling rack. Do not fill until they are completely cool.                                                          
Chantilly Cream Filling

Ingredients:
  • 1 cup heavy whipping cream
  • 1/2 cup powdered sugar
  • 1/2 tsp vanilla (Or more, if you dare.)
Instructions:
  1. Add all ingredients to mixing bowl.                              
  2. Whip on Medium-High speed until soft peaks form.
Assembling the Cream Puffs:
  1. Option 1: Fill a piping bag with the chantilly cream. Press the tip into the weakest part of the puff, breaking through the choux. Squeeze the bag, filling the puff with cream.
  2. Option 2: Fill a piping bag or gallon-sized plastic bag with the chantilly cream. Take a serrated knife and cut the choux, splitting the puff in half. Fill the puff with the chantilly cream. Add sliced strawberries or other fruits, if desired.                   
So, that's it! Make sure you eat these babies fairly quickly--you don't want the cream to make the choux soggy! Bon appetit!

Tuesday, December 30, 2014

GREECE: Baklava


If you have never worked with phyllo (fillo) dough, you may want to take this as a cautionary tale. When you purchase phyllo dough from the grocery store (usually next to puff pastry sheets, pie crusts, and the lot), it typically comes in the form of paper-thin sheets that are stacked and folded in order to fit into a box. You then defrost these sheets, but if they are not totally defrosted, or if you don't handle them properly, they rip. They shred. They disintegrate.


That being said, today I decided to make a batch of baklava. Baklava is one of my favorite desserts I've had as its attached to some very fond memories. Each year, the Greek Orthodox Church in my town hosts a Greek Food Festival. It raises money for the church and for charities all over the city. They prepare for months in order to have enough food and treats to sell. One of the most popular things they sell is of course, baklava.

In case you are unfamiliar of exactly what baklava is, it is a layered, flaky pastry filled with nuts and drenched in a gooey honey sauce. It is delightful. I had always heard that it is fairly easy to make once you get the hang of the dough, so I thought I'd give it a shot. Recipe yields 16 pieces.

I found a recipe online here, and once again, I modified it slightly. Below are my modified directions.


INGREDIENTS:
1 8-oz. package of phyllo dough
1/2 pound hazelnuts, chopped
margarine... I used about 1/3-1/2 cup, but it wasn't totally exact
1/2 tsp cinnamon
1/2 c water
1/2 sugar
1/2 tsp vanilla extract
1/4 c honey

INSTRUCTIONS:
1. Preheat the oven to 350 degrees. Butter the bottom and sides of an 8x8 pan. Chop the hazelnuts and toss with cinnamon in a bowl. Set aside.


2. Unroll the phyllo dough carefully, avoiding breaking it as you go. Make sure it is entirely defrosted, otherwise it may stick or tear.  Cut the stack down to size to fit into the pan. Cover the dough with a slightly damp cloth to prevent it from drying out. (I actually did not do this because mine was slightly sticky. Allowing it to dry partly allowed me to be able to use the sheets of phyllo more easily.)


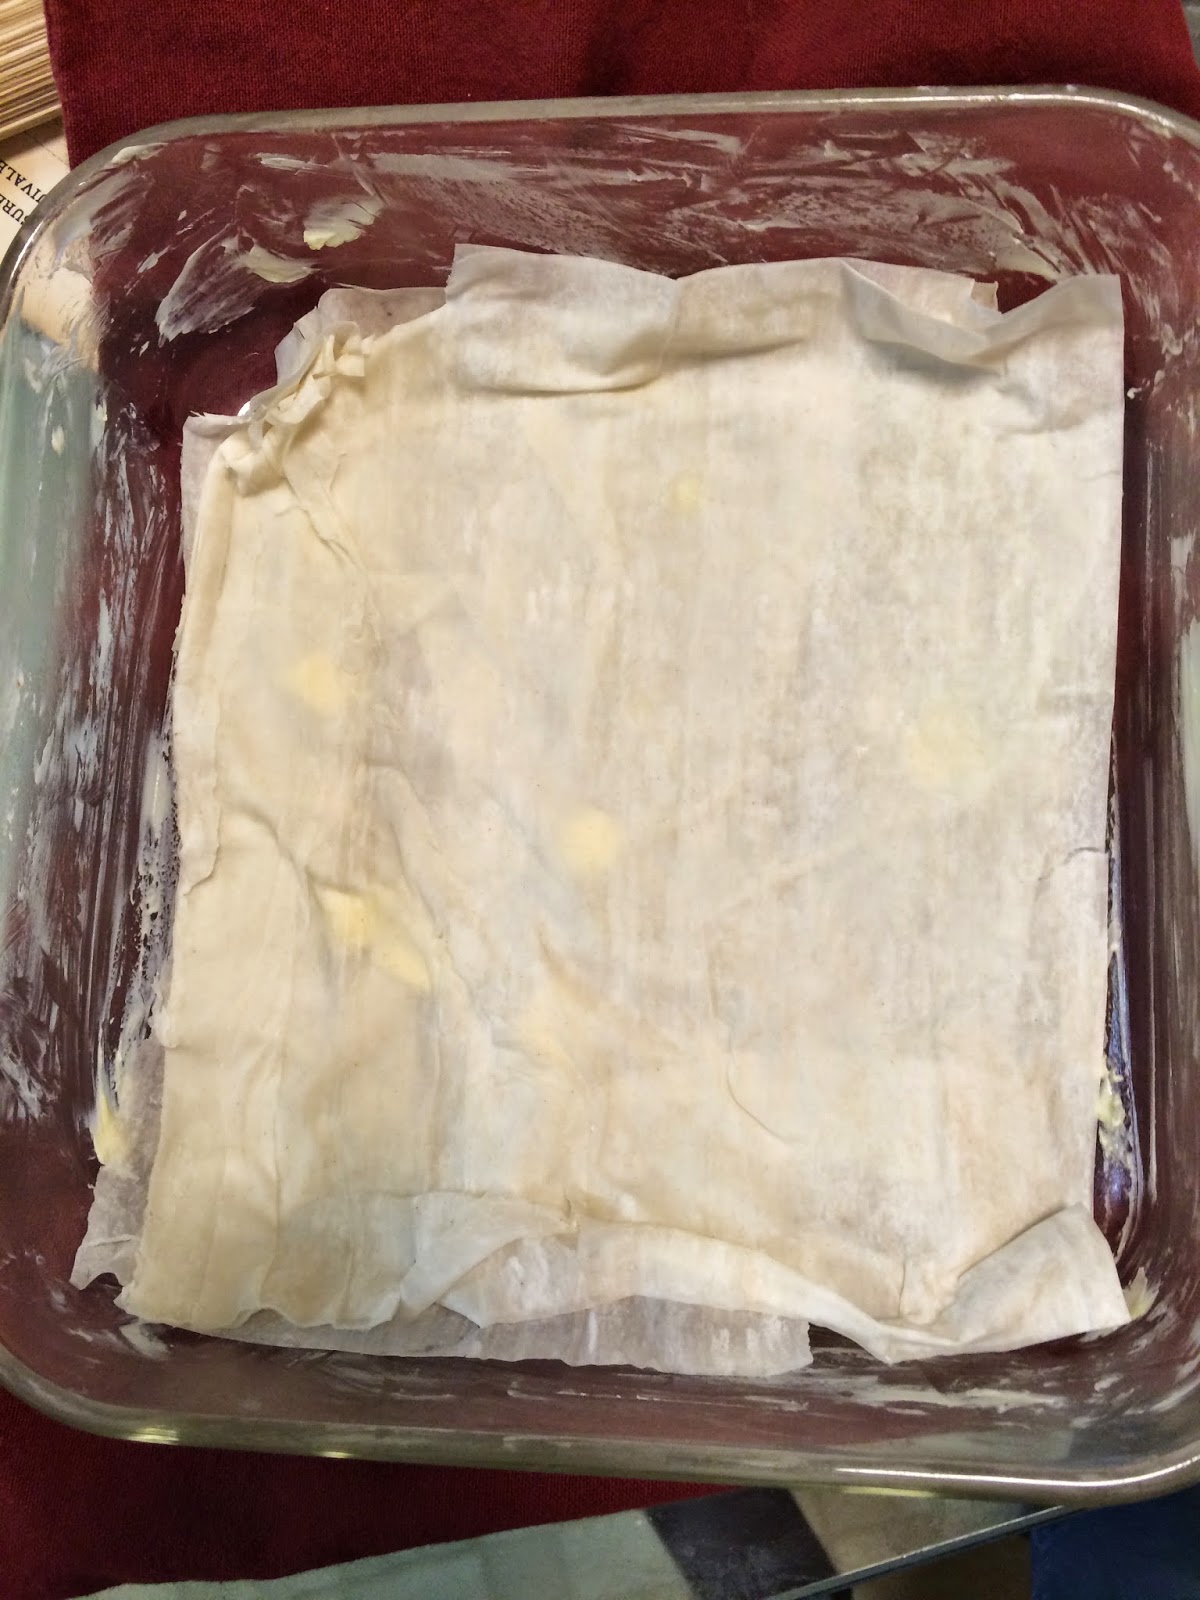
3. Place two sheets of dough in the pan, "butter thoroughly." This last direction was so vague it hurt. I interpreted this to mean as follows: melt the butter in the microwave. Then, take a pastry brush and coat the dough thoroughly. If you do not have a pastry brush, take a spoon, and put small amounts of butter on the layer, using the back of the spoon to spread it.


4. Sprinkle 2-3 tablespoons of nuts onto the layer. Do not actually sprinkle using the spoons, though. Use your hands to sprinkle, as you have more control and can get a more even coating. Repeat following this pattern: 2 sheets of dough, butter, 2 sheets, butter, 2 sheets, butter, nuts...
The top layer should be 6-8 sheets thick.


5. Use a sharp knife to cut either squares or diamonds, 4 by 4 pieces in total. Make sure you cut all the way through the bottom layer of dough. Bake for 50 minutes until the top layer is golden and crisp.


6. While the baklava is baking, make the honey sauce: Combine the sugar and water in a pot and bring to boil, making a simple syrup. Add the vanilla and honey and bring down to a simmer for 20 minutes. Tip: If you are trying to use the last bit of honey in the jar, pour a spoonful of your warm simple syrup into the bottle and swish it around. It should help it flow more easily.


7. Remove the baklava from the oven and place it on a cooling rack. Immediately spoon the sauce over it, and let cool. Remove from pan carefully, keeping each piece's layers intact. You may wish to take the knife and run it along the edges of each piece before removing them to ensure they are completely loose. Serve in paper cupcake liners.


8. στην υγεια σας! (I hope that means "cheers!" If not, I blame Google Translate.)
These turned out much better than I expected. The phyllo dough was difficult to work with, but I now realize that it doesn't matter that much if you tear it, as it will all turn out gooey and flaky in the end! If you want an extra special dessert (or if a piece falls apart), take off for a Sundae in Athens--crumble a piece of baklava over vanilla ice cream and add a cherry on top! 
If you give this recipe a try, let me know how it turns out in the comments! Love, Caroline


Saturday, December 27, 2014

FRANCE: Madeleines

Clearly I need to start this journey with the recipe that started it all: French Madeleines.  They basically are a butter cookie and cake hybrid that are made in shell-like pans. Light, fluffy, delicious. They can be paired with many different flavors, such as lemon, honey, orange, or chocolate.

Because I wanted to get my proportions of ingredients just right, I used a recipe for lemon madeleines, found at Martha Stewart's website. It yields 3 dozen cookies. I rewrote the directions slightly, adding my own variations and notes to it in bold. These were so easy to make and such a hit with my family, as they came out beautifully, with lightly brown, crisp edges and a soft, fluffy center. I was so surprised at how easily they came out of the pan!

Unfortunately, I can't come up with an idea for how to make these without the signature madeleine pan; however, I found what appears to be a good-quality, inexpensive one here. If you know a way to make madeleines without the pan, please let me know!

Happy baking!


INGREDIENTS

  • 3/4 cup unsalted butter or margarine--I'm on a budget here! (1 1/2 sticks), melted, plus more for pans
  • 1 1/2 cups cake flour, sifted (not self-rising) (all purpose flour and corn starch will make the same thing--see step #2)
  • 1/2 teaspoon baking powder
  • 1/4 teaspoon coarse salt
  • 3 large eggs
  • 2 large egg yolks
  • 3/4 cup granulated sugar
  • 1 teaspoon pure vanilla extract
  • 2 tablespoons finely grated lemon zest
  • 2 tablespoons fresh lemon juice (2 to 3 lemons total) 
  • Juice and zest of two large lemons
  • Confectioners' sugar, for dusting (optional required)

DIRECTIONS

  1. Preheat oven to 400 degrees. Butter two madeleine pans; set aside. The madeleine pan I used had a special cooking spray to use with it instead. Essentially, you just can't use an alcohol-based cooking spray like pam because it ruins the nonstick madeleine pan.
  2.  If you have cake flour, continue to the next step. If not, you can make it with all-purpose flour and cornstarch. For every cup of cake flour called for, take one cup of all-purpose, remove two tablespoons of it, and replace it with two tablespoons of cornstarch. For this recipe, that means 1 1/2 cups of all purpose flour, remove 6 tbsp, and replace those with cornstarch.
  3. Sift flour, baking powder, and salt into a bowl; set aside.(I know this is a strainer; I didn't have my sifter handy!)
  4. Zest and juice the lemons. Juice them into a strainer in order to catch the seeds.
  5. Put eggs, egg yolks, granulated sugar, vanilla, and lemon zest and juice in the bowl of an electric mixer fitted with the paddle attachment. (Or any attachment. I have a $25 mixer so I used its normal attachment.) Mix on medium-high speed until pale and thickened, about 5 minutes. 
  6. Mix in butter. Using a spatula, fold flour mixture into egg mixture. Keep stirring until all of the clumps are gone. It takes a while, but I think it makes a difference. Let rest 30 minutes.And I mean all of the clumps!
  7. Pour batter into prepared
    pans, filling the molds 3/4 full. For this, I used a measuring cup with a spout. You could also use a pastry bag or a Ziploc with a little hole cut out of the corner. 
  8. Bake cookies, rotating pans halfway through (You lose heat this way. I just cooked the pans one at a time. Also, who has two madeleine pans?), until edges are crisp and golden, 7 to 8 minutes. Let cookies cool slightly in pans on wire racks. Invert, and unmold. They should fall right out. To be sure, I always lightly shake the pan from side to side, then place the cooling rack upside down on the pan before flipping. Dust with confectioners' sugar.                        Serve, and enjoy. They're best eaten hot! Bon appétit!
 If you try out this recipe, let me know how it turns out in the comments! Love, Caroline